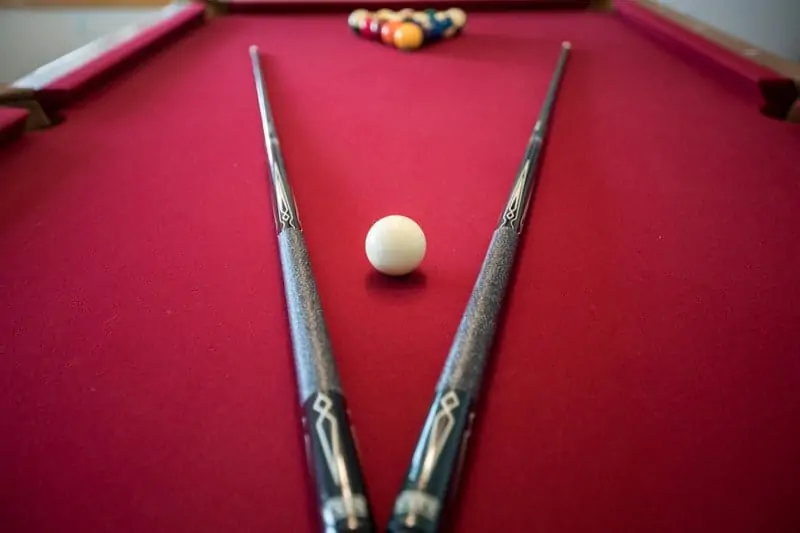
If you’ve ever really taken the time to look at your pool cue, you probably know its made up of more than just 2 pieces of wood screwed together. There are lots of different parts of the pool cue, all of which are crucial to its functionality. From the tip of the pool cue, all the way to the bumper, each part has a role to play.
In this article we’re going to take an in depth look at the anatomy of a pool cue. By the time we’re finished, you’ll know every part of your cue and its function.
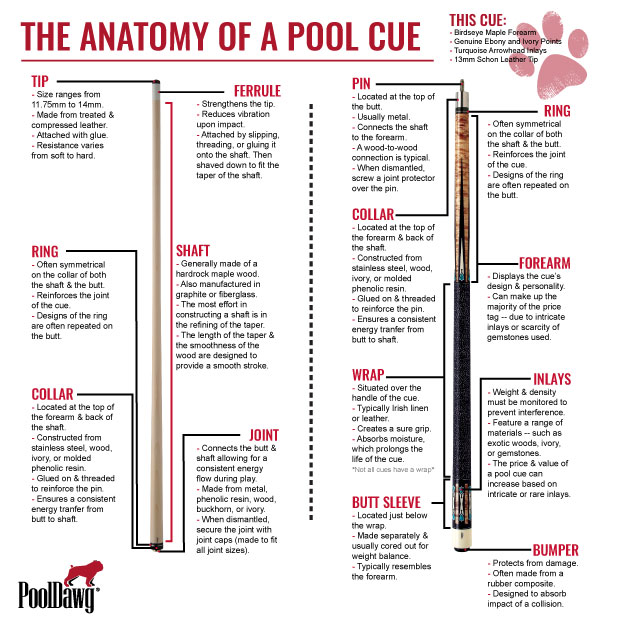
Below is a handy diagram I found on Pooldawg.com. Everything you see in the list will be gone over thoroughly.
Pool Cue Basics
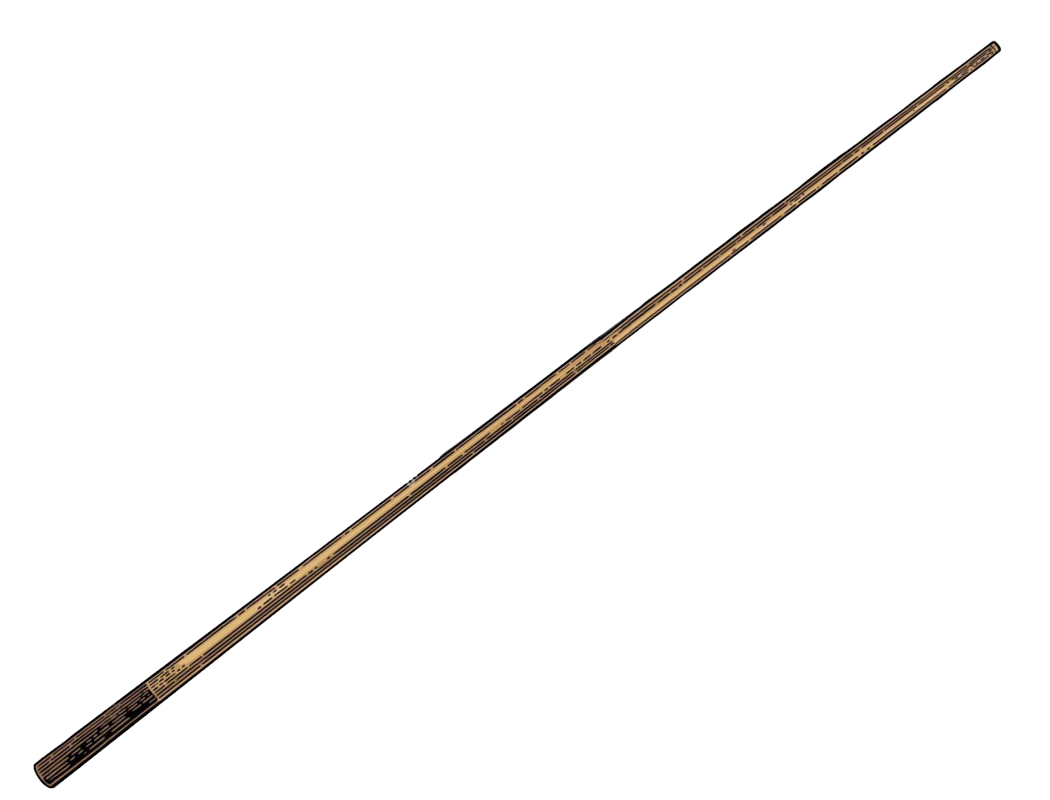
Let’s begin with the basics. Pool cues are generally 57 to 59 inches in length, and they weigh anywhere from 16 to 21 oz. The specific length and weight of your cue will have more to do with personal preference than anything. However, there are pros and cons to playing with cues of different weights. And as far as length goes, we have a handy chart in this article that shows what length pool cue is right for your height.
Pool cues come in either one piece or two pieces depending on what you need or want. One piece pool cues are more often used for in home use, or at bars and pool halls. They are typically cheaper in price and quality. Two piece pool cues are better for players who take pool a bit more seriously. They, most often, screw together at the joint and can be taken apart quickly for travel purposes.
Pool Cue Anatomy 101
Lets jump right into it. We’re going to discuss every component of the pool cue starting with the tip and working all the way down to the bumper.
Tip

This is the part of the cue that strikes the cue ball. It is generally made of treated and compressed leather. The leather can be a soft, medium, or hard consistency. A soft tip will give you more control while a hard tip will give you more power.
In addition, they range in size from 11.75 mm to 14 mm in diameter. Generally, you want your tip to have the curvature of a nickel or a dime in order to have good control. If you are playing often, a tip should generally last you about 6 months.
Larger Vs. Smaller Tips
Tips with larger diameters have more surface area coming in contact with the cue ball. This typically means more power in your shot and less chances of miscuing. Smaller tips are better for players who use a lot of English (side spin) or who practice advanced cue ball control.
Solid Leather Tips Vs. Layered Tips
The two most common types of tips available are solid leather tips or layered tips. A solid leather tip is just one pelt of leather. This means it has a variety of hardness throughout. The middle is generally softer while the outside is generally harder. On the other hand, the layered tip is constant in density and hardness. So the middle of the tip and the outside of the tip will give a more even result.
Phenolic Tips
Phenolic tips are most often used on break and jump cues. This is because they are super hard, hold up very well to power shots, and transfer the most amount of power. Phenolic tips hold up very well and don’t have to be replaced often. However they don’t hold chalk as well as leather tips, so they shouldn’t be used on playing cues.
Ferrule
The ferrule is located between the tip and the shaft of the pool cue. The ferrule can be attached by gluing, slipping, or threading and can be made of phenolic, ivory, or wood materials. The ferrule acts as a shock absorber, helping distribute energy from the shot throughout the rest of the cue. Its main function is to help reduce vibration when striking the cue ball.
Uncapped Vs. Capped Ferrule
The better of the two is debatable and is most definitely a preference. However, here’s a quick analysis. An uncapped ferrule has a more direct connection to the shaft, while a capped ferrule has a further connection. The capped is stronger and is less likely to split the shaft, in addition to having a flatter surface to glue the tip to.
Shaft
This is the longest part of the pool cue, no matter what type of cue you have. On a two piece cue it is the narrower of the two pieces. Most of the time pool cue shafts are made from hard rock maple wood. However other woods are sometimes used and can even come with protective coatings such as fiberglass or graphite.
A distinct feature of the shaft is that it gets narrower the closer it gets to the tip. This is called taper. The purpose of the taper is to allow for the pool cue to easily slide through your fingers, while also allowing for enough weight for a stable stroke.
For more information on pool cue shafts check our article explaining the differences between standard shafts and low deflection shafts.
Collar
The collar is a part of the joint where a two piece pool cue comes together. One end of the collar is threaded and glued to the shaft while the other is threaded to accept the pin which connects the two pieces together.
Collars are typically made from stainless steel, wood, ivory, or molded phenolic resin. It’s purpose is to create a consistent energy transfer from the butt to the shaft.
Joints
The joint is nothing more than the area where the butt and the shaft connect. Similar to the collar, it is used to create a consistent flow of energy. It can be made of metal, phenolic resin, wood, buckhorn, or ivory. The type of material the joint is made of can affect the feel of the cue.
Steel Joints
Steel joints are most often made from stainless steel. They provide the stiffest feel when striking the cue ball, meaning that the shot isn’t felt throughout the entire cue. This isn’t necessarily good or bad, its really just a matter of what you prefer. Steel joints also look amazing and can really make a cue stand out, especially when coupled with eye catching graphics.
Wood to Wood Joints
A wood to wood joint is exactly what it sounds like. Instead of using steel or other composite materials, the joint is made entirely of wood. Wood to wood joints often have a softer feel that can be felt throughout the entire cue. They feel more like a one piece cue when striking the cue ball. Again, this isn’t good or bad, just personal preference.
Composite Joints
Composite joints are typically made from some form of plastic. They fall in between steel joints and wood to wood joints in terms of shot feel. Their shot feel is typically described as “solid”.
Pro Tip:
When dismantled, its a good idea to keep your joint safe with joint protectors.
Pin
The pin is used to connect the shaft to the forearm. It is usually metal and is located at the top of the butt. There are different types of pins and different sizes as well. The most common type of pin is a threaded pin. Alternatively, there are Radial, Speed-Loc, and Uni-Loc pins, which are all name brands of specific pin types.
Pin sizes are measured by diameter and threads per inch. Common pin sizes are:
- 3/8 x 10
- 3/8 x 8
- 5/16 x 14
- 5/16 x 18
Ring
The ring is located between the collar and the shaft. It is used to reinforce and protect the joint of the cue. It’s secondary purpose is for style. The ring normally has a pleasing design that is repeated on the butt of the cue for aesthetic purposes only.
Forearm
On two piece cues, the forearm is located between the joint and the wrap. This is the most expensive part of the pool cue because it has the majority of the design. Many times it will be decorated with anything from inlays to decals to gemstones. A lot of a pool cues price will come from how ornate the forearm is.
Wrap
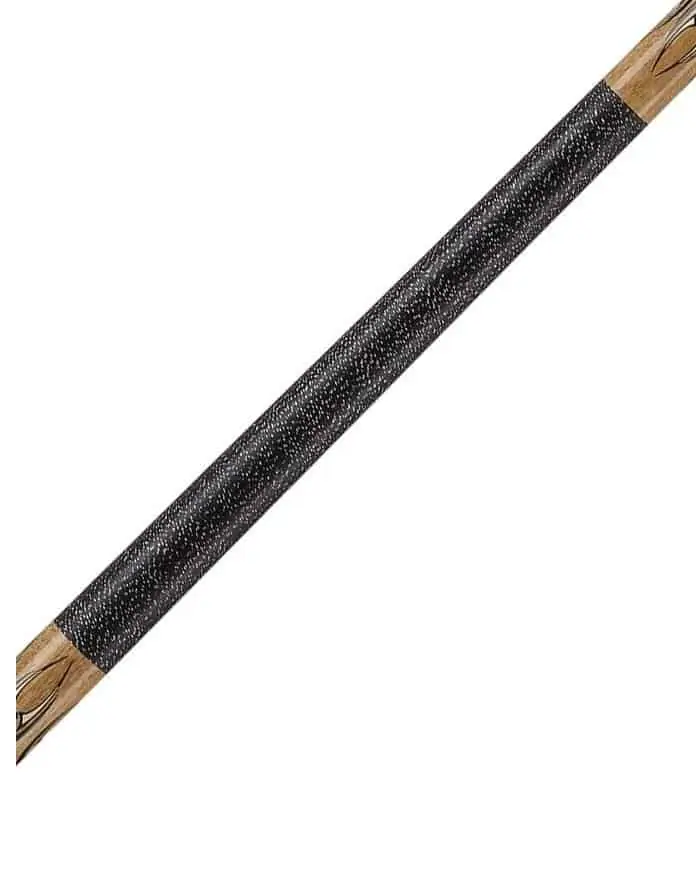
Not all pool cues have a wrap. In fact, most one piece pool cues don’t. However, the wrap is an important part of any pool cue, especially if your hands sweat when you play. The wrap is located on the butt of the cue and is positioned in the area where you would typically hold your cue.
There are lots of different types of wraps available, each one having its own pros and cons. Here are a list of some of the more common wraps used on pool cues today.
- Nylon
- Irish Linen
- Rubber
- Stacked Leather
- Standard Leather
The main purpose of the wrap is to help absorb moisture and provide a solid grip on the pool cue.
Inlays and Overlays
Inlays and overlays are part of what gives a pool cue its aesthetic appeal. They are the design features which give the forearm is beauty. Overlays are typically found on entry level pool cues to help keep cost down. They are simply graphics laid over top of the butt of the cue to give it its style.
Inlays, on the other hand, are actually embedded into the wood itself. Cues that feature inlays are typically more expensive as the process of embedding materials into the cue is more costly. Inlay material can consist of exotic woods, ivory, gemstones, pearl, pewter, brass, and much more.
Inlays and overlays have to be monitored to make sure they dont interfere with the weight of the cue too drastically.
Butt Sleeve
The butt sleeve is located just below the wrap, and is made for weight balance. Its typically hollow in the inside, for which weight bolts can be placed or removed to adjust the weight of the cue. Its also most often designed to match the forearm of the cue in terms of style.
Bumper
The bumper is what sits on the very bottom of the cue. Its often made of rubber and acts as a shock absorber in the event of accidental impact or collision.
In Conclusion
There you have it folks! Pool cue anatomy 101.
As you can tell, the parts which make up a pool cue each play an important role. Some of which are mostly cosmetic while others are crucial to the cues functionality.
I hope this article has helped you understand the anatomy of a pool cue and that you know have a firm grasp on whats what. For more helpful articles just like this one, check out the rest of the site! Thanks for reading!
