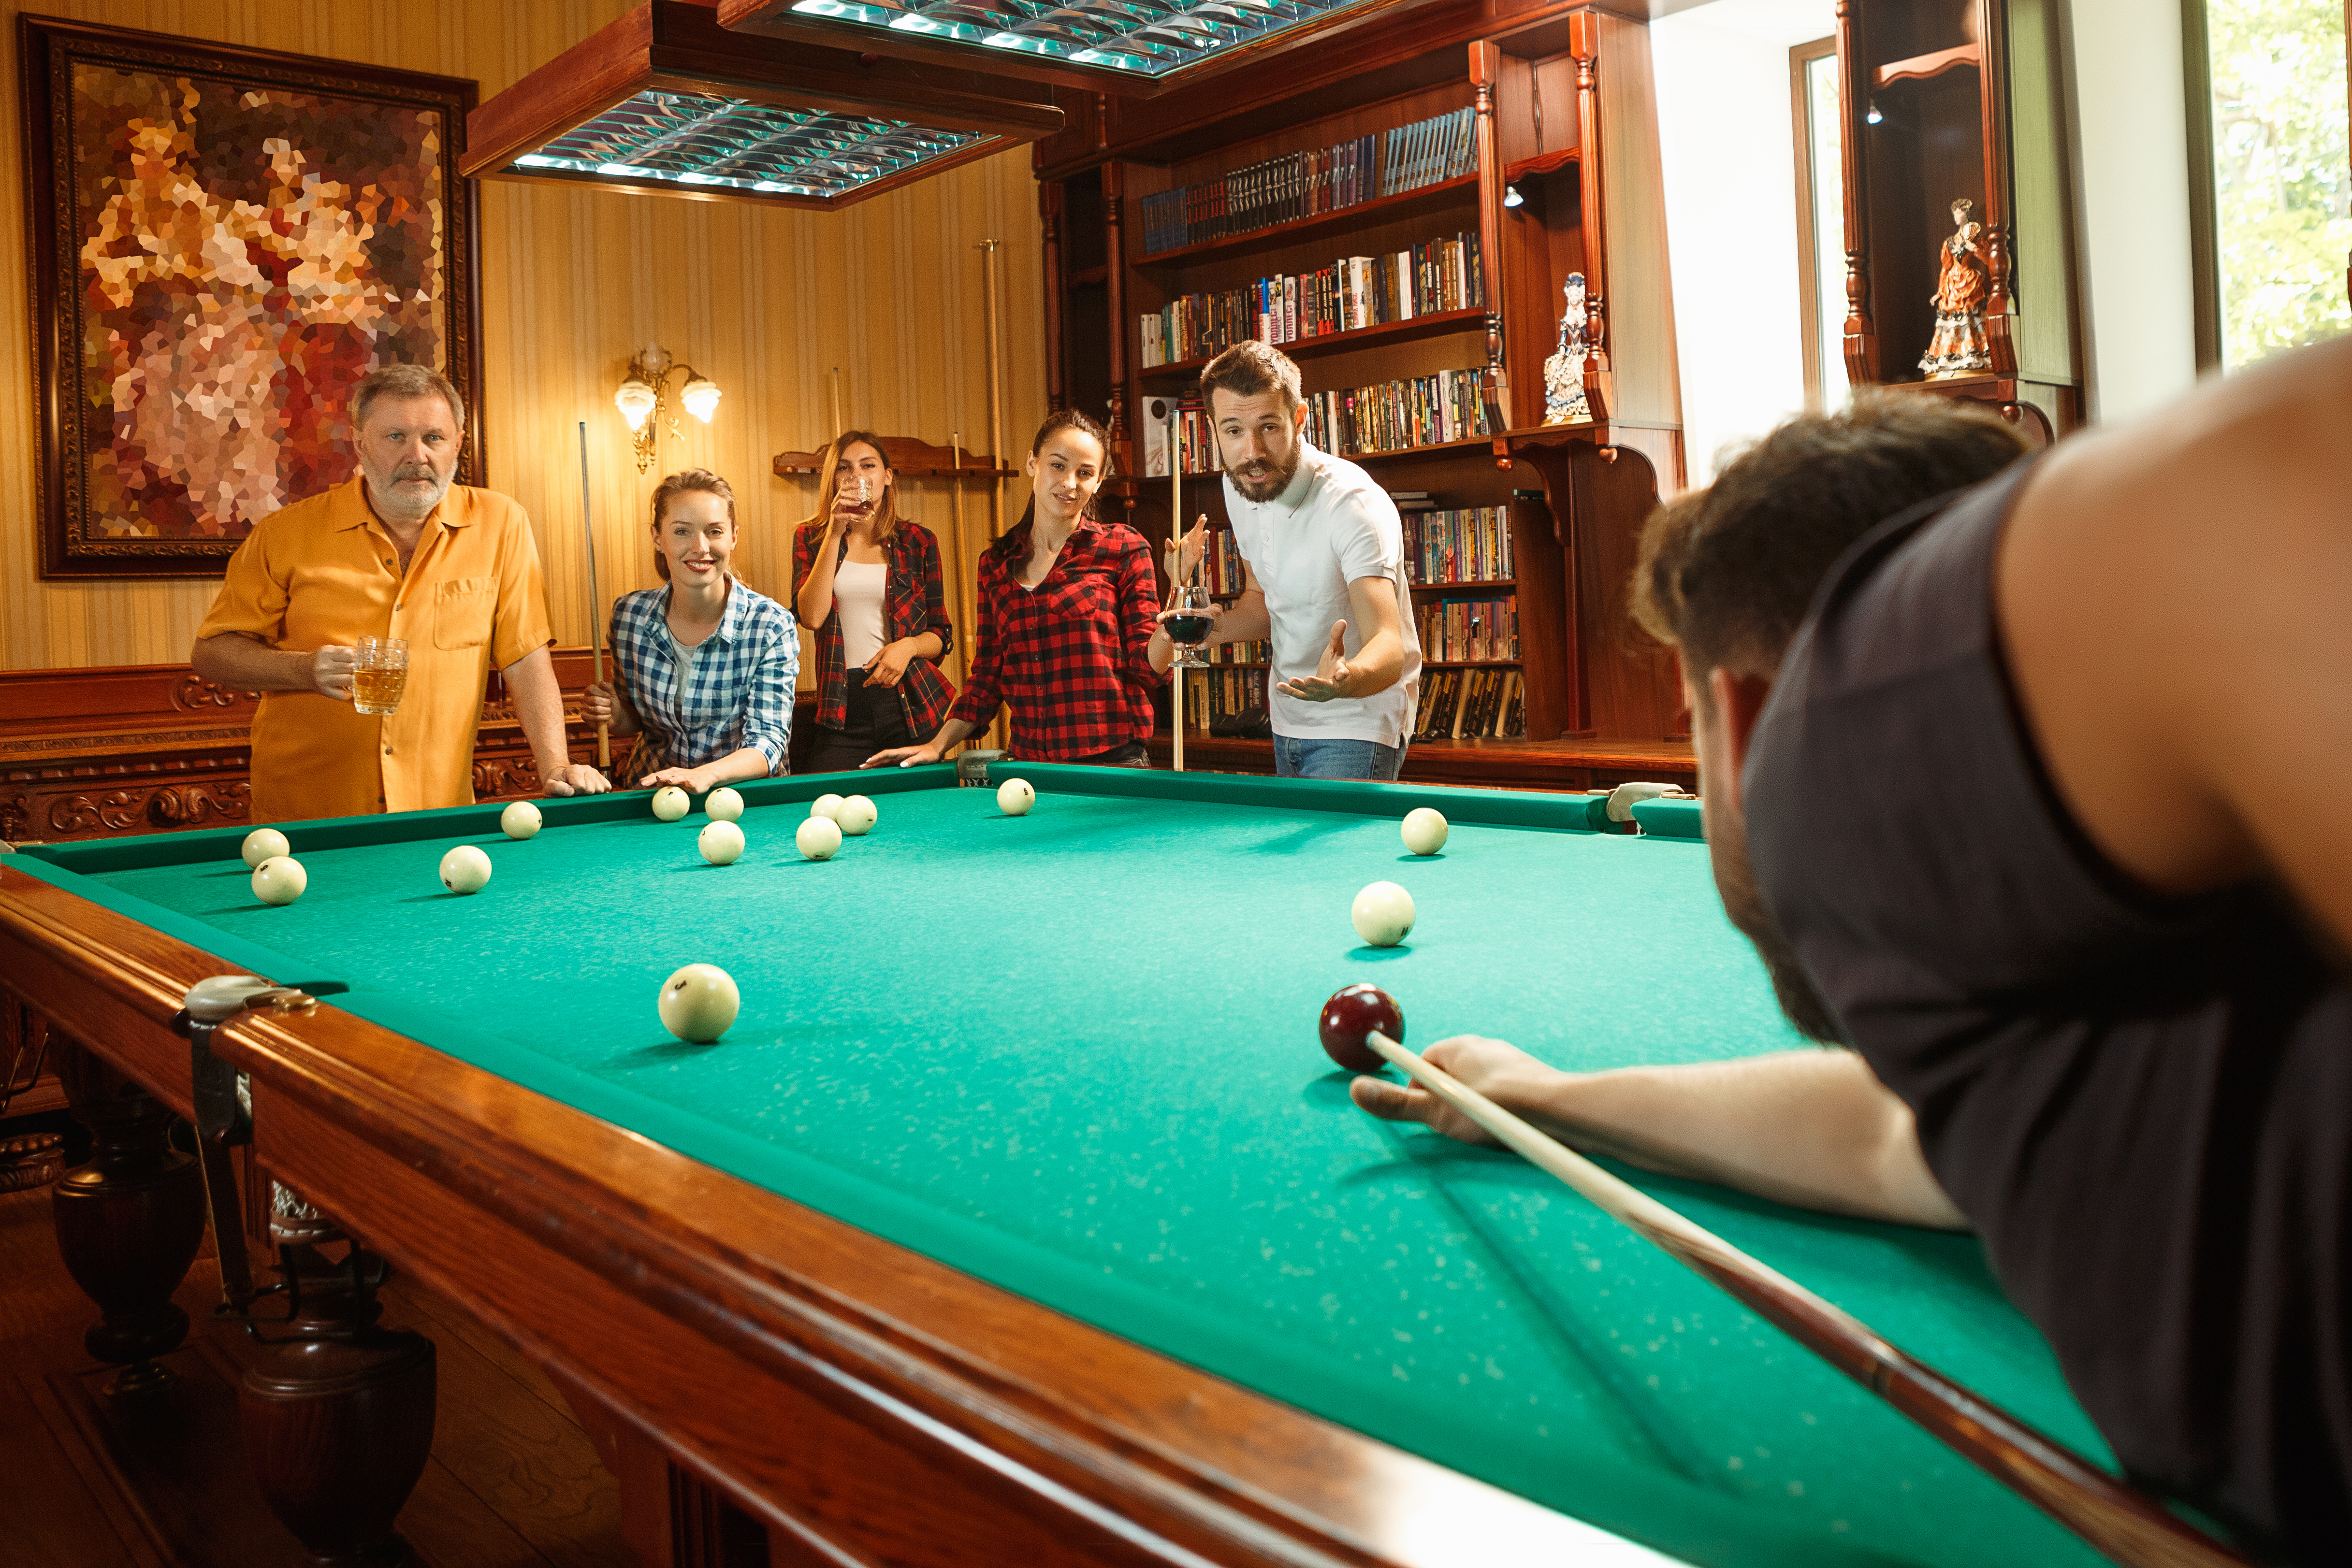
If you’ve ever paid attention at a pool hall or bar where people are shooting pool, chances are you’ve seen several different ways to hold a cue. This is because there is no one set way you should hold a pool cue. It’s different for each player and varies depending on skill level, technique, comfort level, dominant hand (left or right), style, arm length, height, and how they learned to hold a cue.
But, while there’s no one right way to hold a cue, there are a couple of things new players should know. This is why I decided to write this article on how to hold a pool cue. Although this is a simple guide for beginners, it can also help those who have been playing pool for a while.
An Overview on How to Hold a Pool Cue
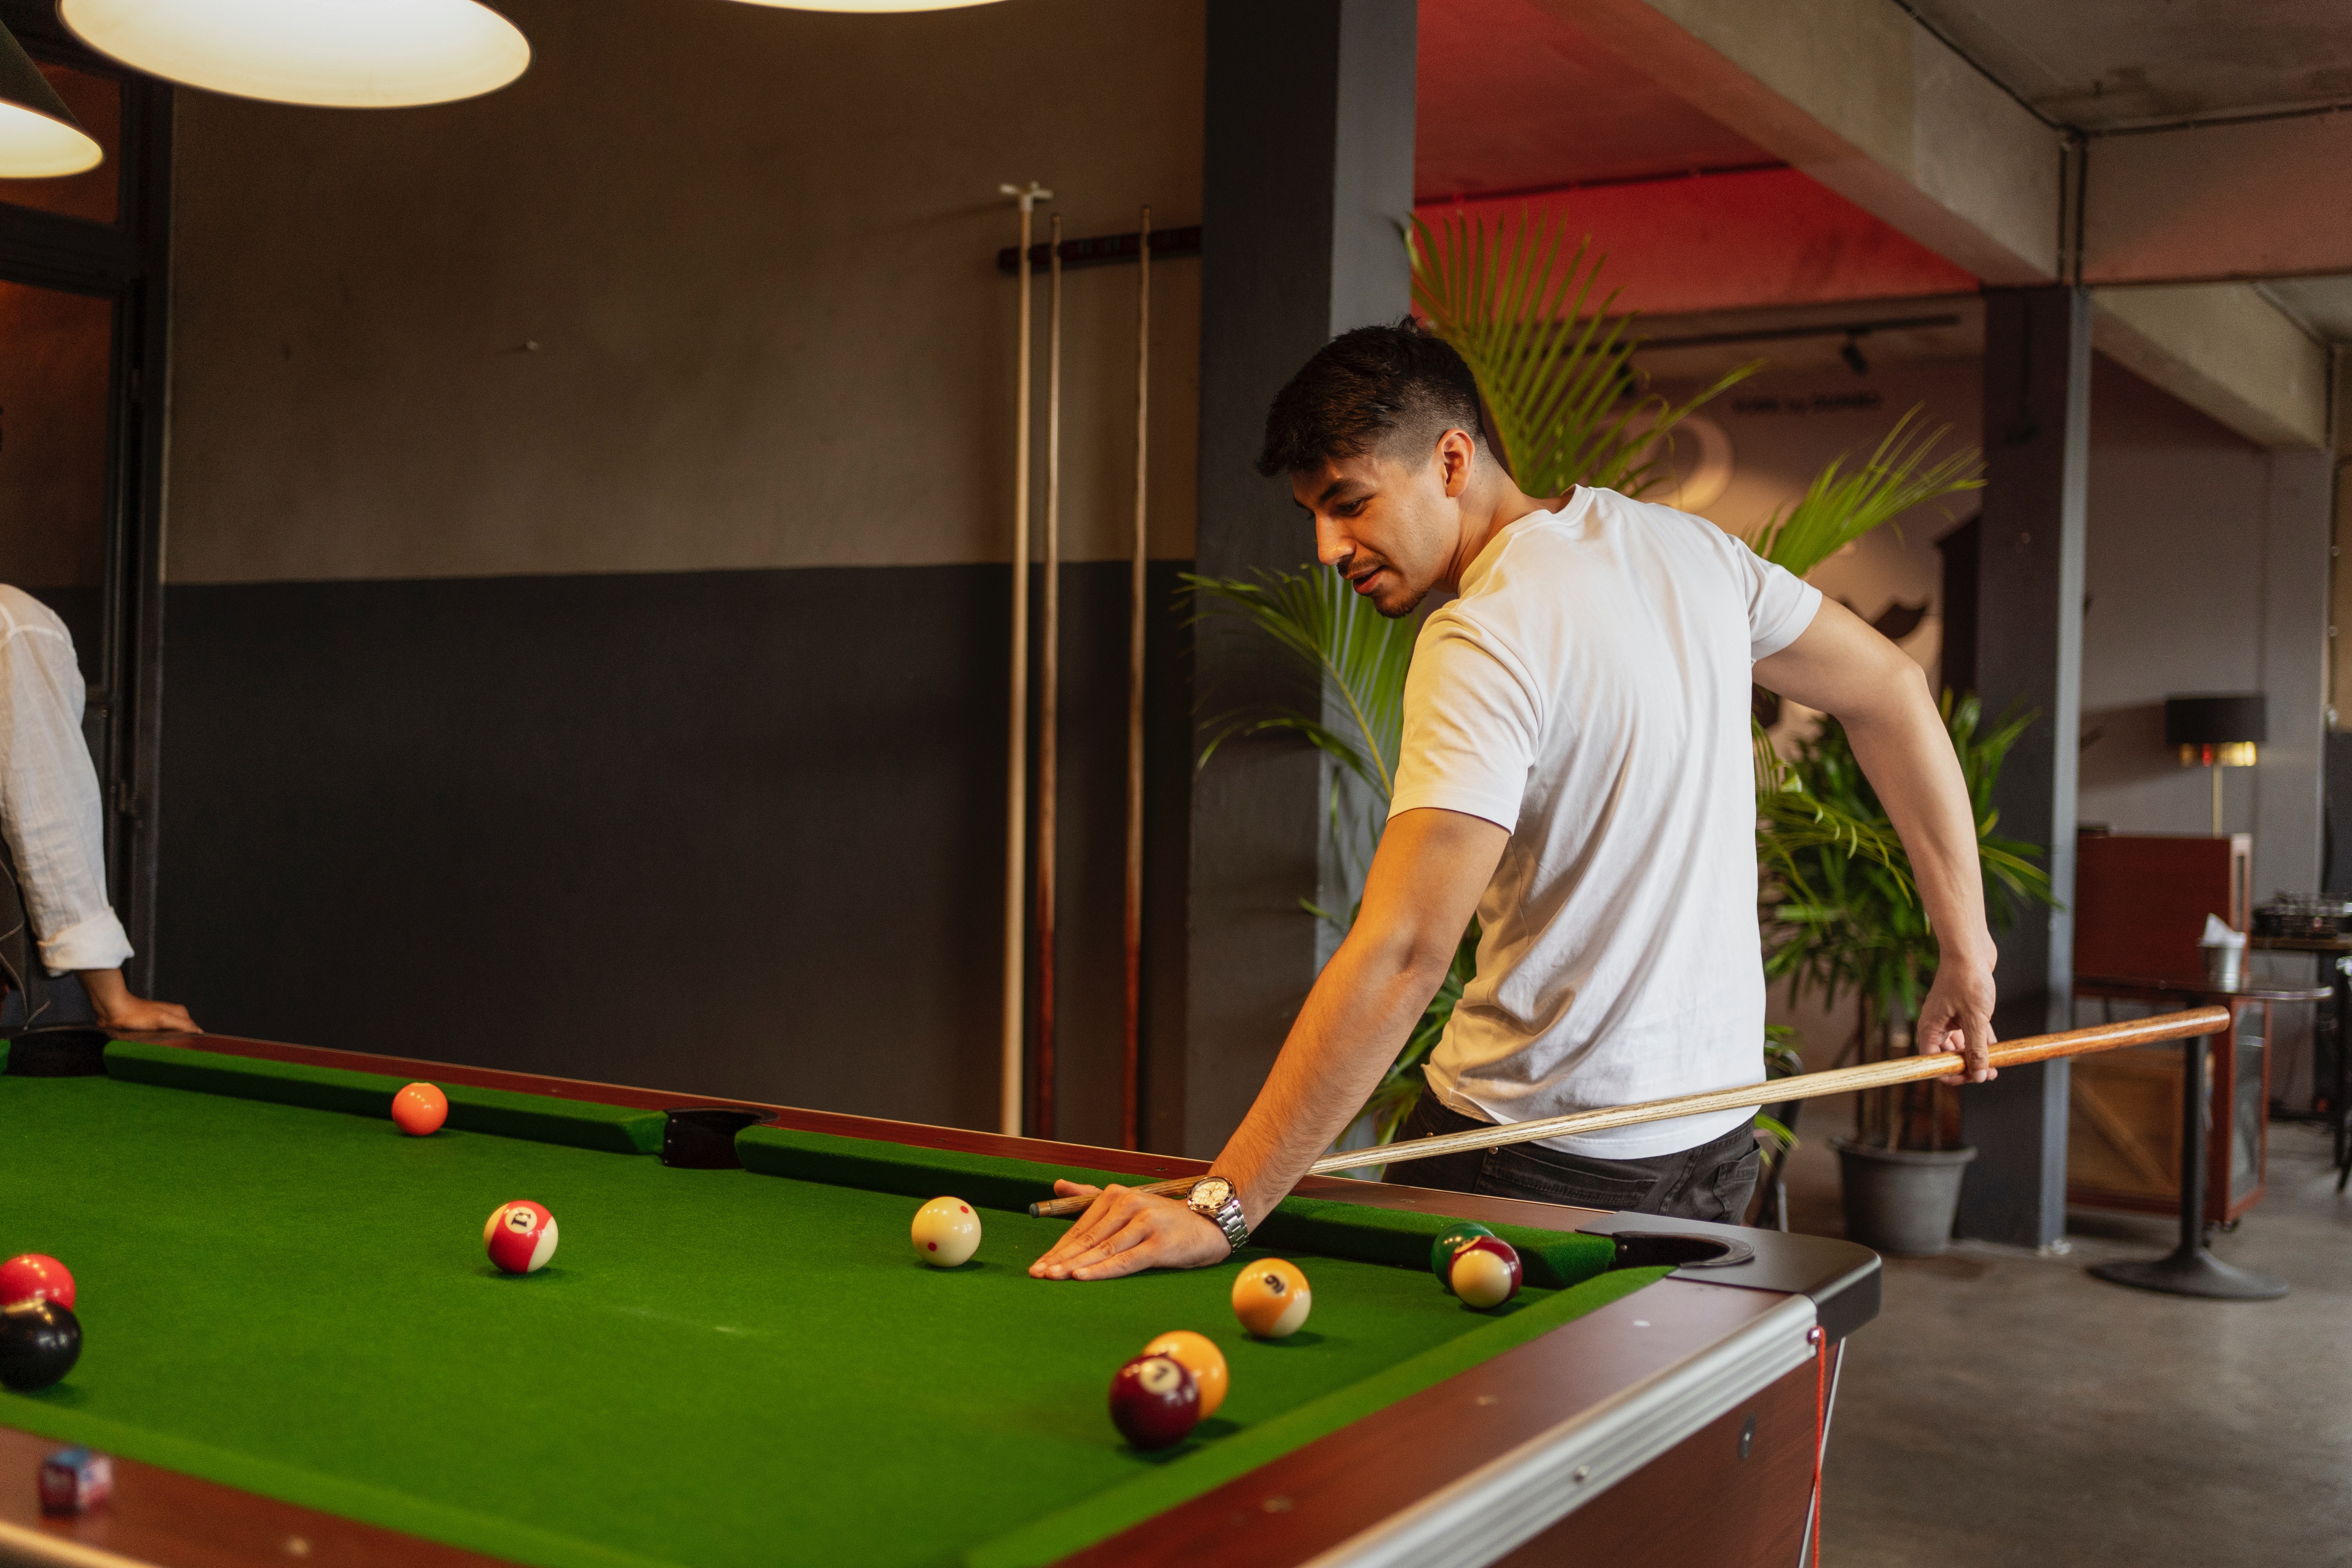
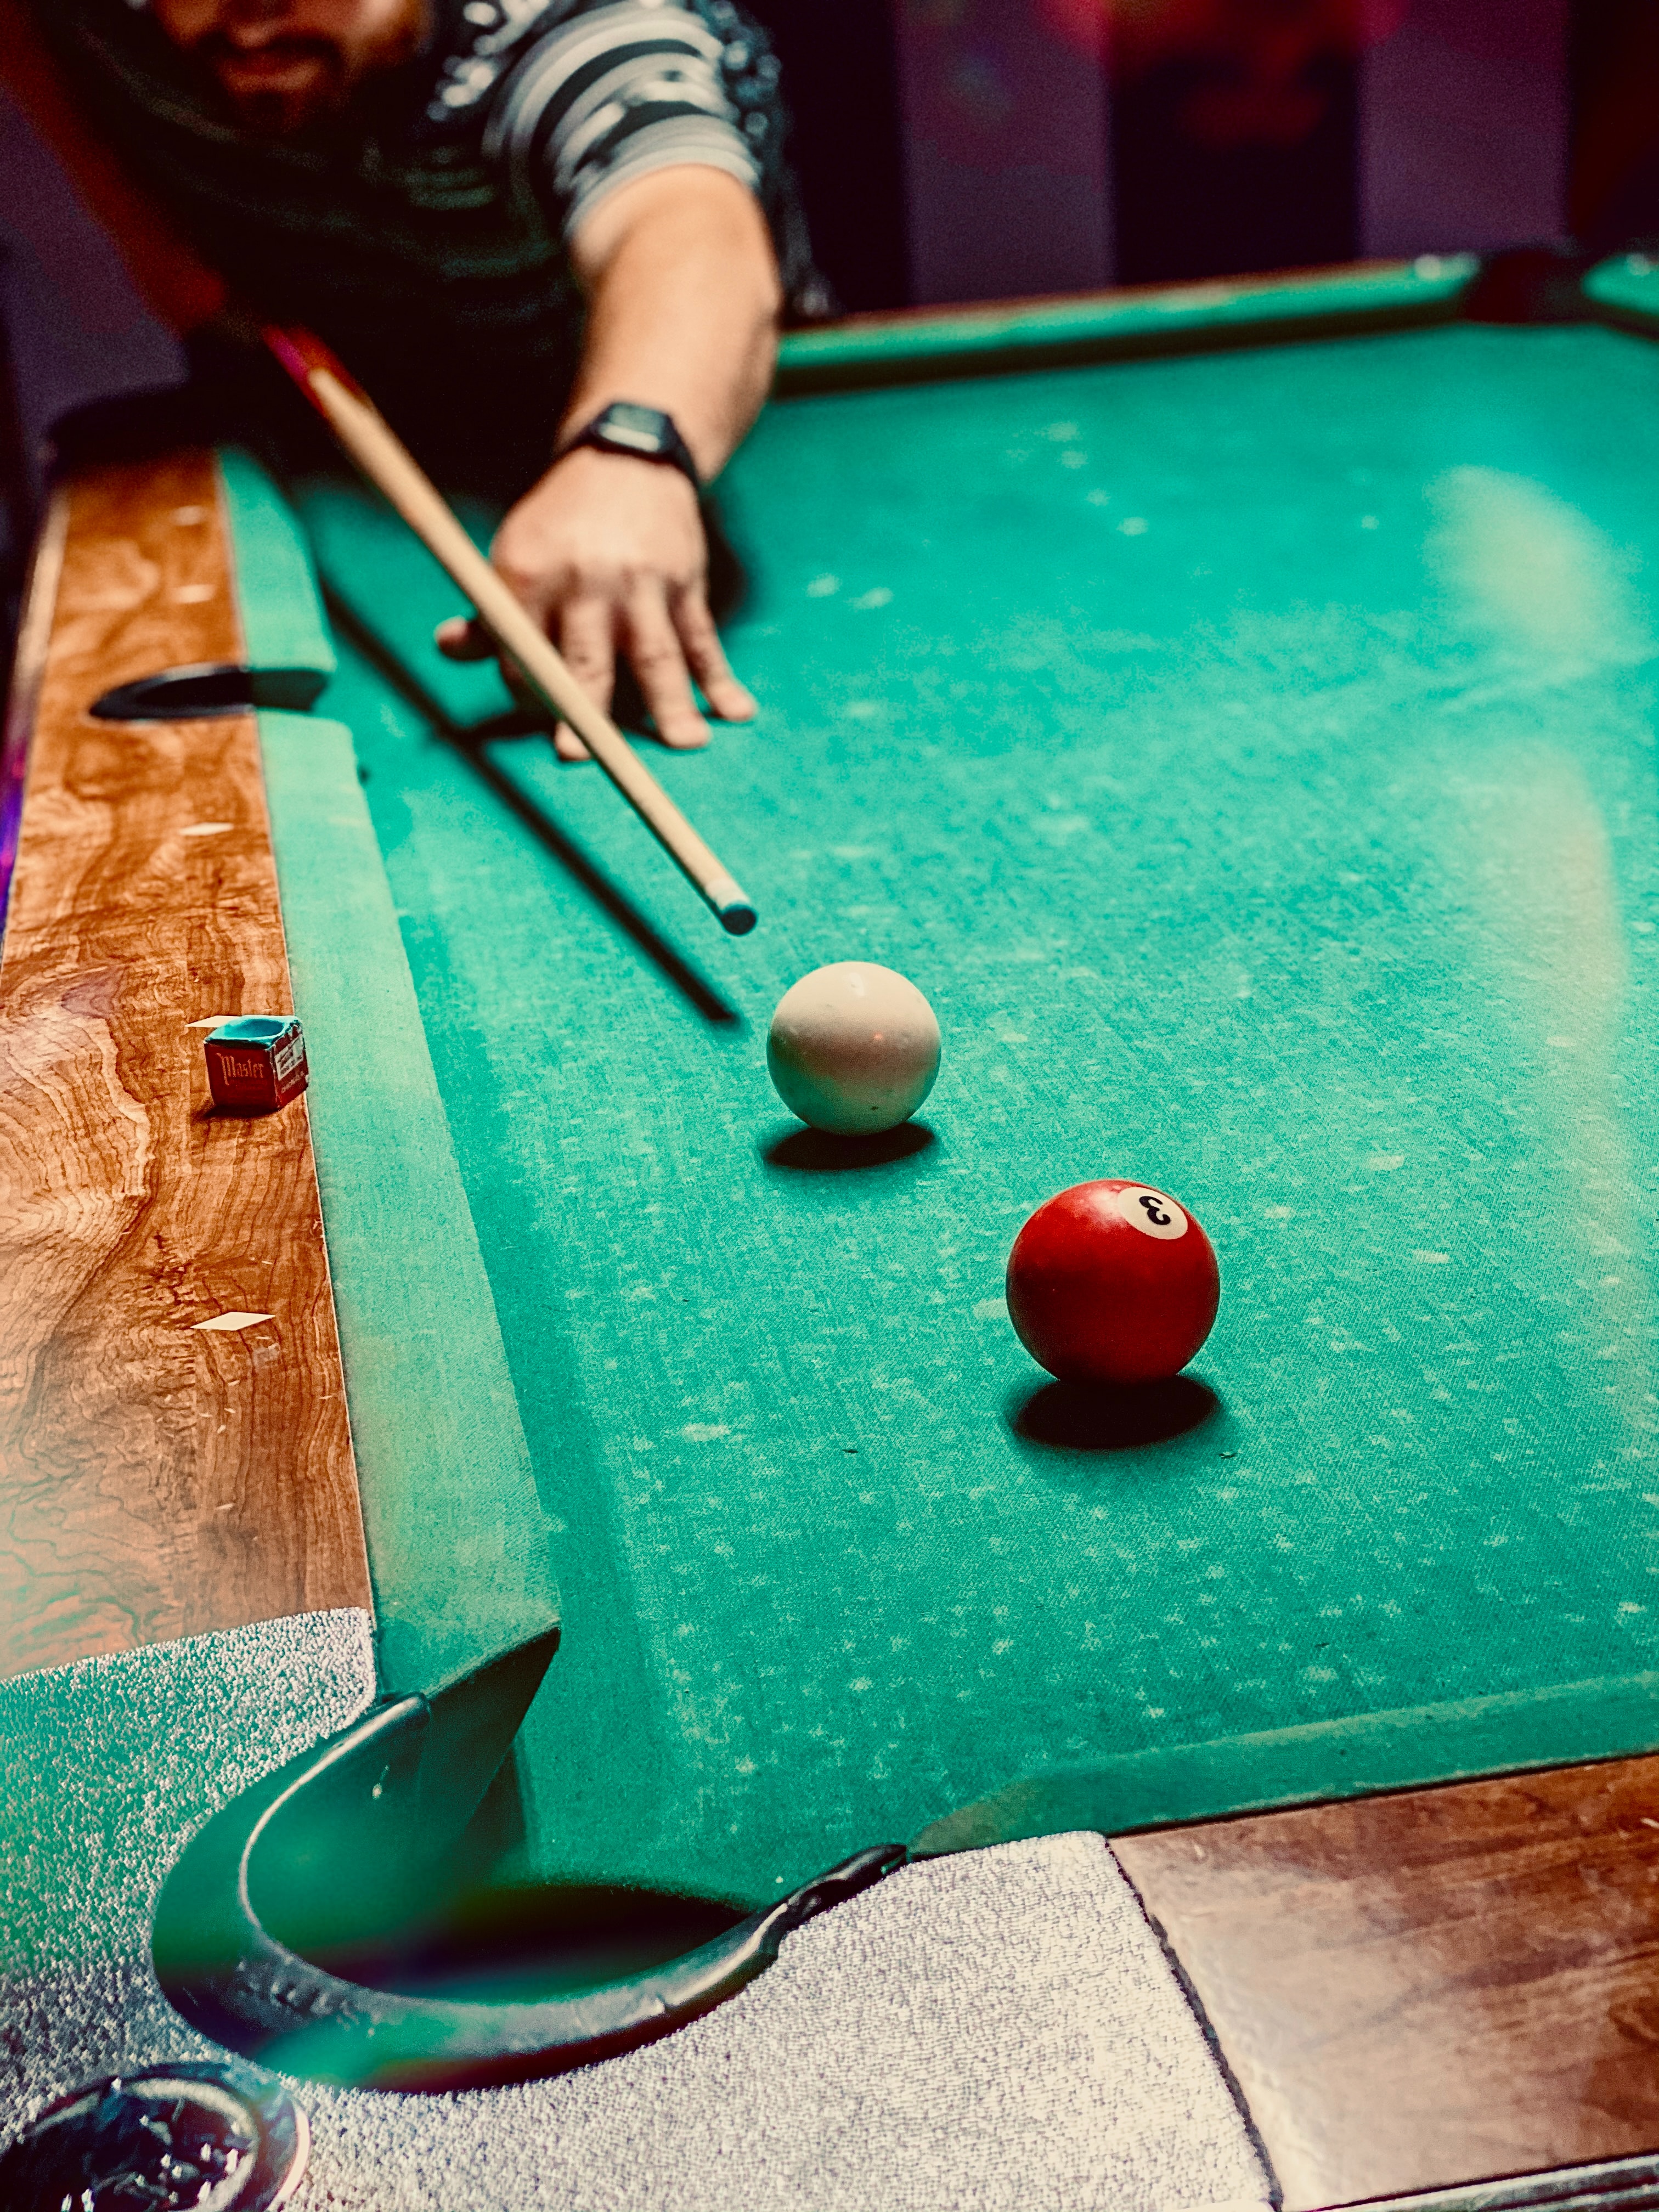
At the most basic level, holding a pool cue is all about what you do with each hand. Your dominant hand should be used to hold the cue butt. This is known as your grip hand. Your other hand should be used as your bridge hand, which gives the cue stability and aim.
Both of these hands are equally important in different ways. They need to work together to complete the objective of each shot: making the cue ball go where you want it to, with the correct amount of power.
It’s possible to be a decent pool player with a bad bridge or grip. However, it’s almost impossible to become a_great_pool player with poor technique in either hand. The good news is, it’s not hard to learn how to hold a pool cue.Let’s talk details. We’ll start with the grip hand.
The Perfect Cue Grip
The heavy bottom part of the cue is called the butt. Sometimes there’s some sort of grip on the cue, like Irish linen, leather, or some other material. Other times the cue will be smooth at the but. Either way, the tactic is the same.
Determining the perfect cue grip for you will depend on your preferred stance, which in turn depends on how tall you are and how long your arms are. Here are the basics of a good grip:
- Your grip hand should be loose and comfortable. You don’t need to strangle the cue.
- Your grip should arrange your forearm perpendicular to the cue stick. This means that, when you’re getting ready to shoot, your forearm and wrist are positioned directly over the cue, not at an angle.
- Your grip should also allow your upper arm and forearm to be at a right angle. Think of the grip hand as the bottom of a pendulum that swings from the elbow.
- The cue needs to be allowed to pivot up and down in the grip hand during the shot. This is why a loose grip is essential.
- To accomplish proper grip, only the thumb and index finger of the grip hand should be securing the cue. The rest of the fingers should be loose, providing support but not interfering with the cue’s movement during a shot. Some players prefer to use their middle finger and thumb instead of their index finger. Either way works, as long as the rest of the fingers are relaxed and allowed to gently “cradle” the cue.
Are you using the right cue length for your height? Click here for our guide (with chart).
The Perfect Bridge
Now, let’s take a look at the bridge hand. There are two bridge styles that are commonly used. One is the open bridge and the other is the closed bridge. I would advise that you experiment with each one to determine which one is more comfortable for you.
Most people start with the open bridge and then progress to the closed bridge as they become better players. Some people also get comfortable with both and use them as needed in different situations.
Open Bridge
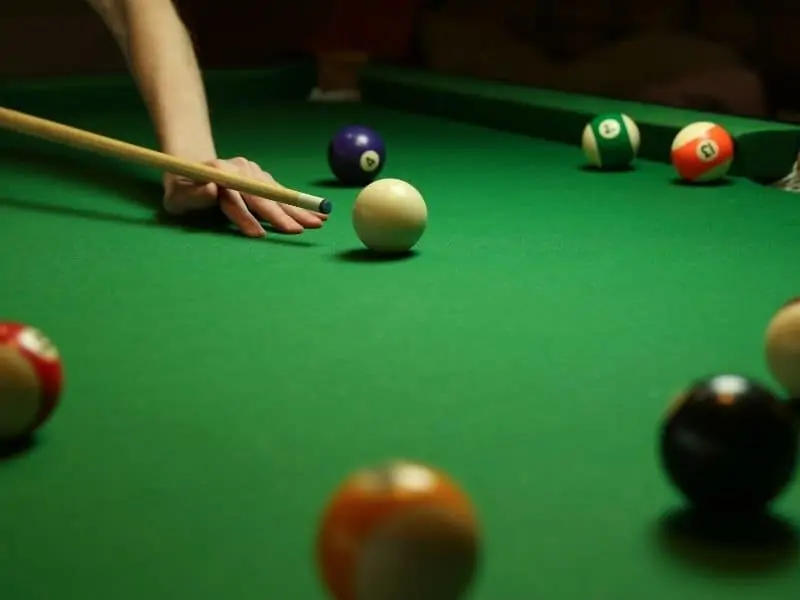
Here’s how to perform the open bridge.
- Place your non-dominant hand on the pool table (or another flat surface— for practice). Spread your fingers out comfortably.
- Bend your hand at the knuckles, keeping your fingers straight and creating a sort of tent with your hand.
- Bring your thumb up to rest against the first knuckle of your index finger.
- Bend your thumb up and away from your hand, creating a V between your thumb and the base of your index finger.
- Place the cue stick in that V.
That’s it! When you combine the open bridge with the grip tips above, you should have a solid foundation for shooting pool. You can pivot your hand in different directions, fanning or closing your fingers depending on the shot you’re trying to make. For the most stability, your fingers should be spaced apart during your shot.
Closed Bridge
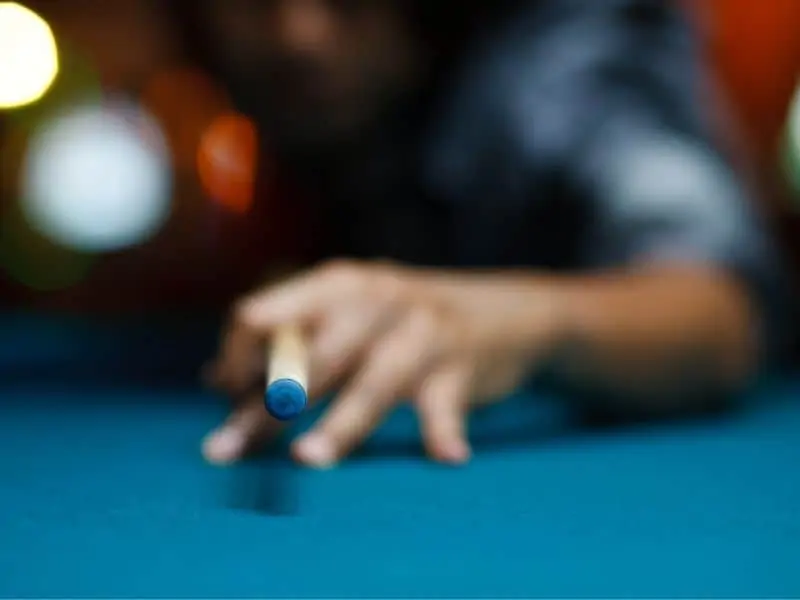
Now let’s talk about the more advanced closed bridge.
- Make a loose fist with your non-dominant hand and place it on the table.
- Free your pinkie, ring, and middle finger from the fist and spread them out on the table. Leave your index finger how it is.
- Pick your index finger up and move the side of your thumb up against the side of your middle finger. They should meet at about the knuckle in the middle of your middle finger. This should create a small V shape between thumb and middle finger.
- Loop your index finger over the top of the thumb, creating a hole large enough for the cue to fit through.
- Put the cue through the loop made by your index finger, allowing the cue to rest in the V you made with your thumb and middle finger.
That’s it! For many new players, the closed bridge feels strange. That’s okay. Practice with it and it will get comfortable over time.
The closed bridge is a little more accurate once you get the hang of it, and is better than the open bridge for certain shots. The looped index finger keeps the cue from moving around, providing accuracy that is hard to master with an open bridge.Now there are some other bridge techniques you should know. These are only used in special situations, but they can be lifesavers if you know when to employ them.
Rail Bridge
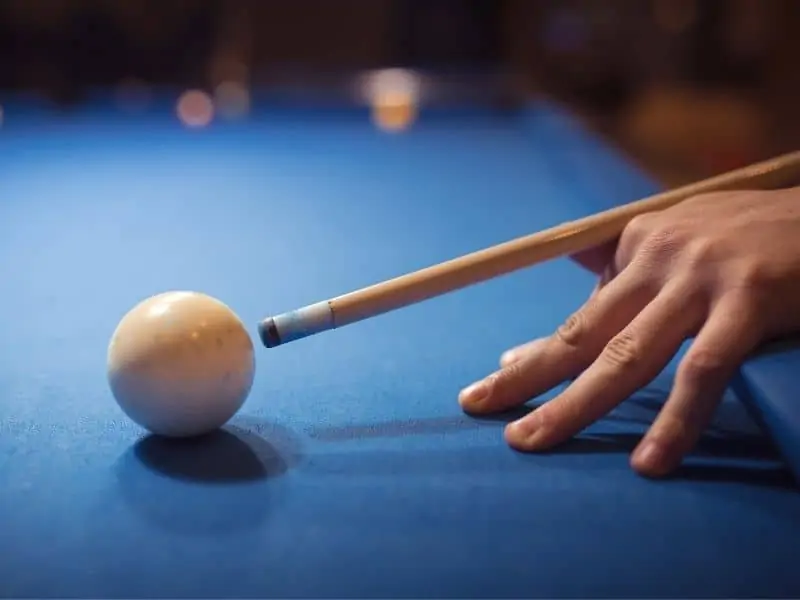
There are several variations of the rail bridge that are used for different shots close to the rails. When you need to make a shot but there’s not enough room between the ball and the rail, you can use a rail bridge to balance and aim the cue.
Depending on how comfortable you are with the different bridge styles, you can use open or closed bridge variations on the rail. The idea is to use the rail to your advantage by placing your palm on the rail and your fingers on the playing surface near the ball (if you have room). You can then form an open or closed bridge variation with your thumb and index finger. This way you’re using the railing itself for stability, and your fingers for aiming the shot.
If you don’t have room to place your fingers on the playing surface, you may need to do a different rail bridge.
- Lay your non-dominant hand on the railing, with your fingertips just over the edge of the playing surface.
- Tuck your thumb under your index finger and then place the cue under the index finger, resting against the side of your thumb. This way you’re using the rail itself to rest the cue stick on. Your thumb keeps the cue from moving left or right, and your index finger over the top of the cue helps to aim the shot.
Raised Bridge
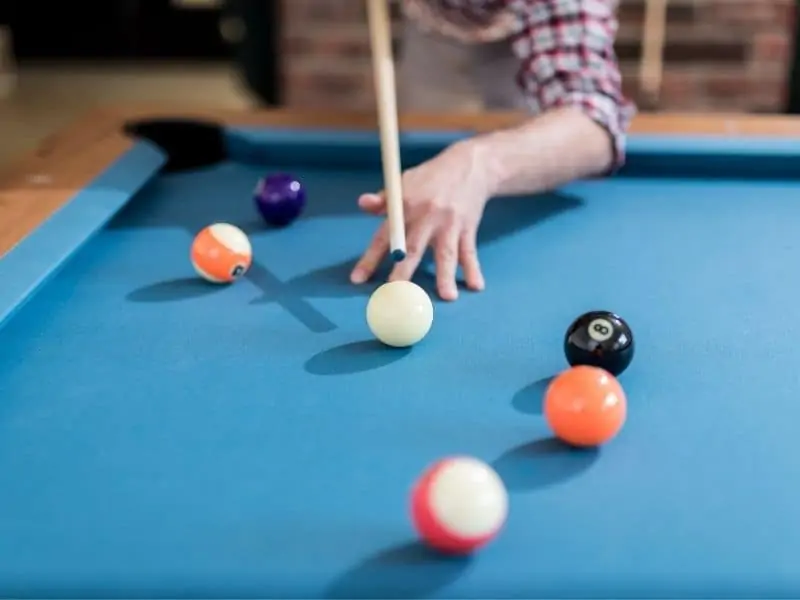
The raised bridge is used when you need to come over the cue ball and hit it from a steep angle, as is often the case when there’s a ball blocking you from forming a normal bridge.
To form a raised bridge, use your index finger and pinkie finger as two points of a tripod. Use your middle and ring fingers as the third leg of the tripod. Then, bring your thumb up to form a V with the base of your index finger. This way you can lift the cue up while maintaining stability and aim to take your shot.
The Importance of Body Position and Alignment
In addition to having the correct grip and bridge, your overall body position and alignment play a crucial role in making accurate and powerful shots in pool. Here’s how to ensure your stance supports rather than hinders your shot:
Stance and Foot Placement
- Stable and Comfortable Position: Find a stance that is stable, comfortable, and allows you to move your arm freely. Your stance should feel balanced and not strained.
- Foot Placement: For right-handed players, your left foot should generally be pointing towards the shot line (reverse for left-handed players). Your back foot (right for right-handed players) should be positioned roughly 45 degrees to the side of your front foot, giving you stability and balance.
- Weight Distribution: Your weight should be evenly distributed or slightly favoring your front foot. This helps to anchor you and reduces unnecessary movement during your shot.
Head and Eye Position
- Eyes on the Target: Your eyes are your primary tool for aiming. When you’re down on a shot, your eyes should be focused on your target (not the cue ball or the cue stick). It’s the target you want to send the cue ball to, so that’s where your focus should be.
- Head Position: Keep your head as still as possible when you are shooting. Any movement can throw off your aim. Your chin should almost be touching the cue, depending on your comfort, to create a sight line down the stick to your aiming point.
Body Alignment
- Straight Line: Imagine a straight line that runs through your cue, forearm, elbow, shoulder, and eyes. This is the line along which your cue should travel as you shoot. Your body should be aligned with this line as closely as possible.
- Tightening the Core: Engage your core muscles slightly. This doesn’t mean flexing hard, but rather just enough to keep your body stable and prevent unnecessary movement.
The Final Stroke
- Smooth and Fluid: Your final stroke should be a smooth and fluid extension of your arm, driven by your elbow, like a pendulum. The motion should be straight back and straight forward, in line with your intended shot.
- Accelerate Through the Ball: Think of the stroke as an acceleration, not a jab. Your cue should be accelerating as it contacts the cue ball, which helps for a cleaner and more powerful hit.
Final Tips on How to Hold a Pool Cue
Now you know the basics of holding a cue. In fact, you know some advanced techniques, as well. Now all you need to do is get comfortable with them. But, I’ll leave you with some other tips on how to hold and shoot a pool cue.
- Remember to use your dominant hand as a fulcrum of sorts to strike the pool cue. The upper arm of your dominant hand shouldn’t move up or down during a shot. All the movement should be from the elbow down, smooth and steady.
- Consider playing with a billiard glove. If your bridge hand gets clammy or you simply can’t seem to get accurate shots, a billiard glove may help.
- Remember to follow through. This is important in developing accuracy. Don’t bring your upper body and cue back up as soon as you hit the ball. Instead, follow through in a smooth motion, then lift once your momentum is dissipating.
- Keep the cue as close to parallel as possible. Power and accuracy come from keeping the cue level with the ground. The steeper the angle you shoot at, the less accurate you’ll be.
- Keep your body and the line of your dominant arm directly in line with the cue ball. When you move the cue forward, your forearm, elbow, hand, and the cue should all move in one straight line straight to the cue ball.
Additional Tips for Practice
- Mirror Practice: Stand in front of a mirror and practice your stance and stroke. This gives you a great visual cue to ensure everything is aligned and moving straight.
- Record Yourself: Use a camera to record your stance and stroke from various angles. Review the footage to spot areas where you can improve your alignment and movement.
- Routine is Key: Develop a pre-shot routine that you follow every time you approach a shot. This helps to make your body’s alignment and movement more consistent from shot to shot.
By paying close attention to your body’s position and alignment, and by practicing with intention, you can develop a more consistent and effective pool game. This aspect of the sport is just as important as your grip and bridge, and it’s something that players of all levels should continue to work on as they aim to improve their skills.
Other Articles You May Be Interested In:
- Best Pool Cues for the Money: Discover the top pool cues that offer great value without breaking the bank.
- Pool Table in the Garage? Here’s What You Need to Know: Understand the essential considerations for setting up a pool table in your garage.
- Break Cue vs Playing Cue: What’s the Difference?: Learn the key differences between break cues and playing cues to enhance your game.
- How Much Does a Good Pool Cue Cost?: Explore the factors that determine the cost of a high-quality pool cue.
- Are Mini Pool Tables Worth It? A Complete Guide: Read our comprehensive guide on mini pool tables and decide if they’re the right fit for you.
